


 Garden Suites
 Basement Reno
 Bathroom Reno
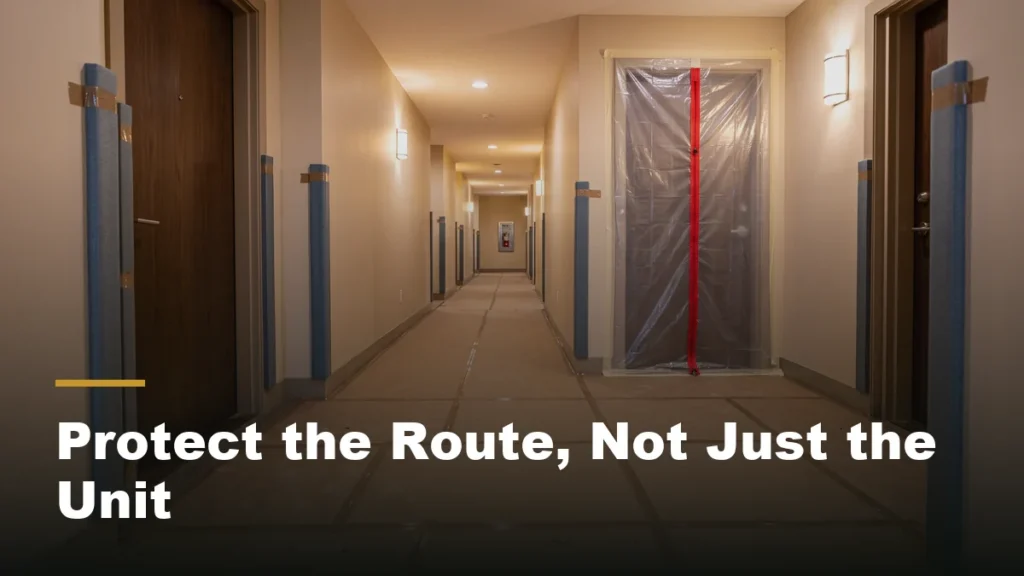
Here is the scene: demo day, eighth floor, an occupied tower. A cart of broken tile rolls out of the unit, down sixty metres of carpeted corridor, into an elevator cab, through the lobby, and out to the bin. Multiply that trip by two hundred, and it becomes clear why condo common area protection during demolition is the very first thing professional condo renovation crews set up before a single wall is opened.
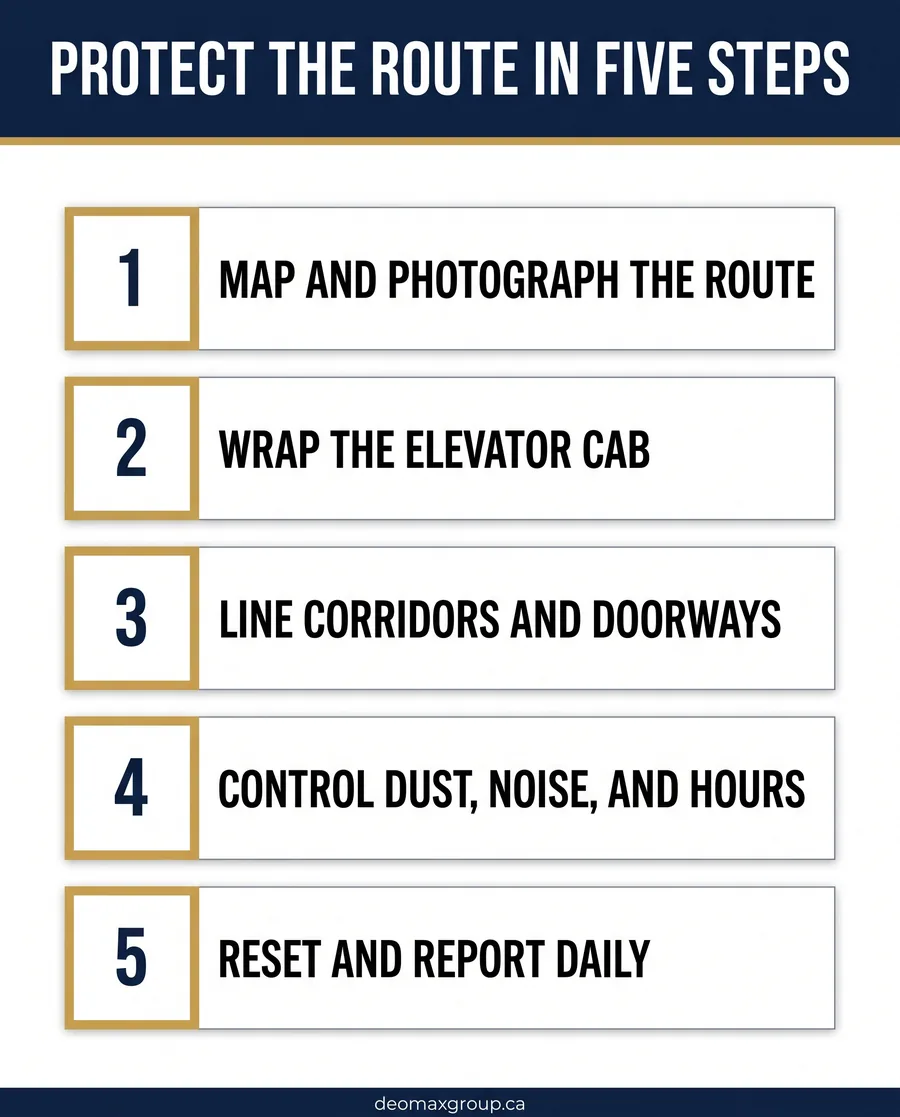
The unit being gutted belongs to the homeowner or client. The route to it belongs to everyone in the building. Protect the route properly, and the project stays invisible. Skip it, and the corporation’s deposit, the construction schedule, and neighbourly goodwill all take a massive hit. Here is the five-step setup that works.
Why Condo Common Area Protection During Demolition Matters
Everything outside the unit door, including corridors, elevators, the lobby, and even the parking level used for staging, is a common element owned collectively by the condo corporation. The Condominium Authority of Ontario’s renovation guidance makes it clear that changes and damage in those spaces are the corporation’s business. This is precisely why most buildings take a damage deposit and issue a rule sheet before any strip-out starts. Flawless condo common area protection during demolition is how that deposit is returned untouched.
It is also how the project keeps moving forward. A property manager who finds gouged corridor walls on day two can and will stop the job entirely. Protection is cheaper than downtime, every single time.
Step 1: Map the Route Before Anything Is Swung
Walk the exact path debris and materials will travel: unit door to service elevator, elevator to loading area, loading area to bin. Photograph and video every surface along it, including walls, floors, door frames, and the elevator cab, before setup begins. Share that record with the property manager the very same day. That timestamped record protects both sides: a contractor cannot be billed for a scuff that predates the work, and the building knows exactly what condition to expect back.
This walk is also where the operational choke points are discovered: the tight corner that a drywall cart cannot turn, the door closer that fights every trip, or the mailroom rush at 5 p.m. that a demolition crew should never intercept. Ten minutes of walking beats a week of friction.
Pro Tip
Ask the property manager for the building’s move-in protection kit. Many towers already own elevator pads and floor runners for new tenants. Using the building’s own kit for the daily commute of a demo crew is often faster to approve than bringing unfamiliar materials onto the property.
Step 2: Wrap the Elevator
The elevator cab is the single most expensive square footage on the route. Standard professional practice requires padded blankets on every cab wall, a rigid floor sheet cut to the cab, edge protection on the door jambs, and checking the cab ceiling for clearance before any long material rides up. Just as important is the booking: most buildings assign a strict service elevator window. A crew that holds a cab outside its window makes an enemy of every resident on every floor.
Weight is the quiet risk. A cart of tile debris is significantly denser than it looks. Ask building management for the cab’s rated capacity and load to comfortable margins well under it. Split heavy loads rather than trusting a groaning cable.
Step 3: Line the Corridors and Doorways
Between the unit and the elevator, every surface that can be touched will inevitably be touched. The corridor package that holds up on a real condo demolition looks like this:
| Surface Category | Protection That Actually Works |
|---|---|
| Corridor Carpet or Tile | Rigid hardboard or heavy floor board taped seam to seam, not loose plastic film that shifts underfoot. |
| Wall Corners and Door Frames | Foam or cardboard corner guards on every tight turn the carts make. |
| The Unit Doorway | A zippered dust barrier plus a sticky walk-off mat directly inside the threshold. |
| Elevator Lobby on the Work Floor | Full floor coverage and wall padding where carts queue and turn. |
| Glass, Mailboxes, Lobby Millwork | Temporary board screening wherever the route passes delicate finished surfaces. |
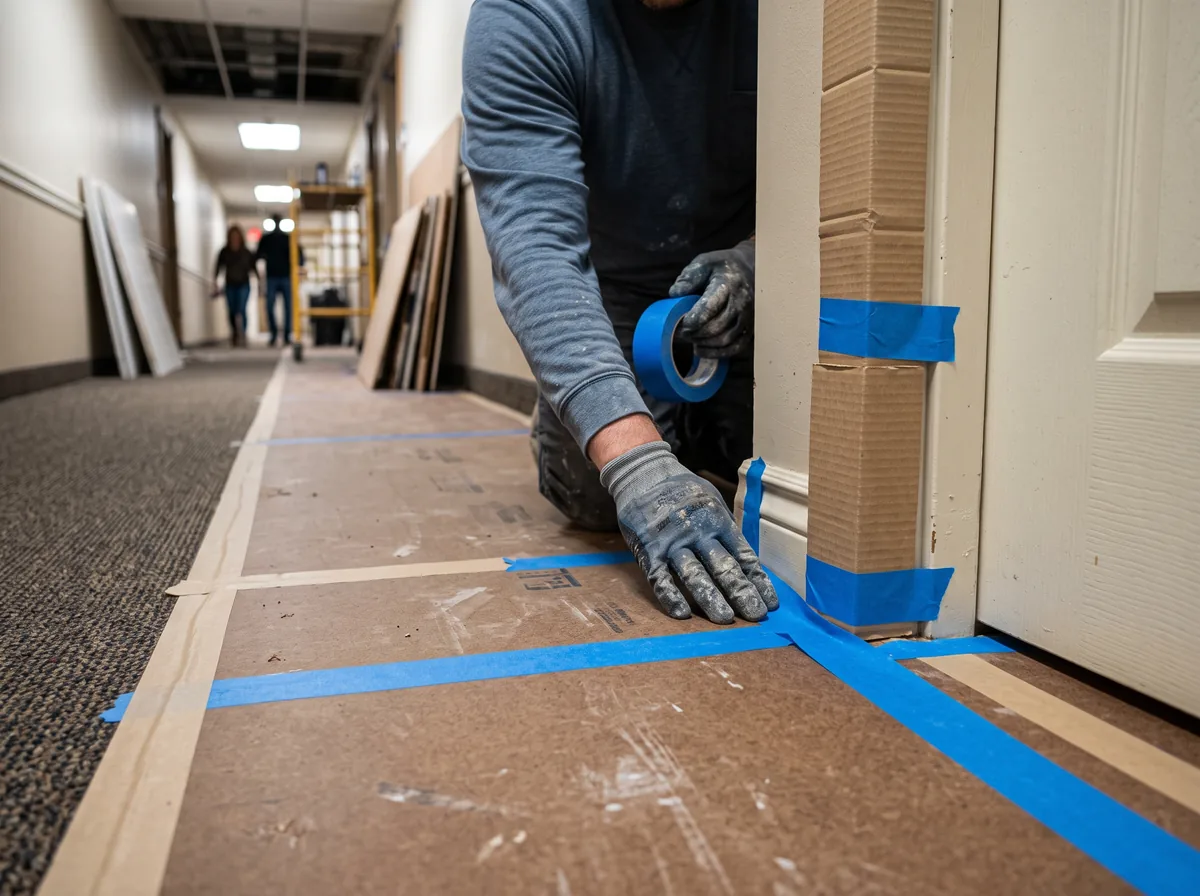
Tape choice sounds trivial until it is not. Use low-tack tape on painted and finished surfaces so the protection comes off without taking the finish with it. The goal of condo common area protection is a corridor that looks entirely untouched the day the last sheet comes up.
Red Flag
A crew that props corridor or stairwell doors open to speed up cart traffic is creating a severe safety problem. Those doors are part of the building’s fire separation system, and management can shut the job down immediately over this violation. Doors must stay closed between trips, with door-face protection installed so the hardware and finish survive the constant use.
Step 4: Control Dust, Noise, and Hours
Dust is the complaint that travels fastest in a tower. Sealed barriers at the unit door, negative air inside the work zone so airflow pulls inward, sticky walk-off mats at the threshold, and debris carted in lidded or wrapped loads keep the corridor air clean. On strip-outs in older buildings, designated substances like asbestos get assessed before demolition starts. This is a highly regulated separate process with its own rules, and no standard protection plan substitutes for it.
Noise and hours are simpler: the building’s rules dictate exactly when loud work runs. The construction crews that thrive in occupied towers treat those windows as hard limits, schedule the loudest work mid-morning, and give management a heads-up before the genuinely noisy days. Slipping a one-page notice under nearby doors costs nothing and buys real patience from neighbours.
Step 5: Reset the Route Every Single Day
Protection is not a set-and-forget install. Boards shift, tape lifts, and corner guards get clipped by heavy carts. The routine that keeps a demolition welcome in an occupied building involves sweeping and spot-vacuuming the route at every day’s end, re-taping lifted seams, and photographing anything that was damaged that day to report it to management before they find it themselves. Self-reporting a scratch costs a simple touch-up; a discovered scratch costs the building’s trust.
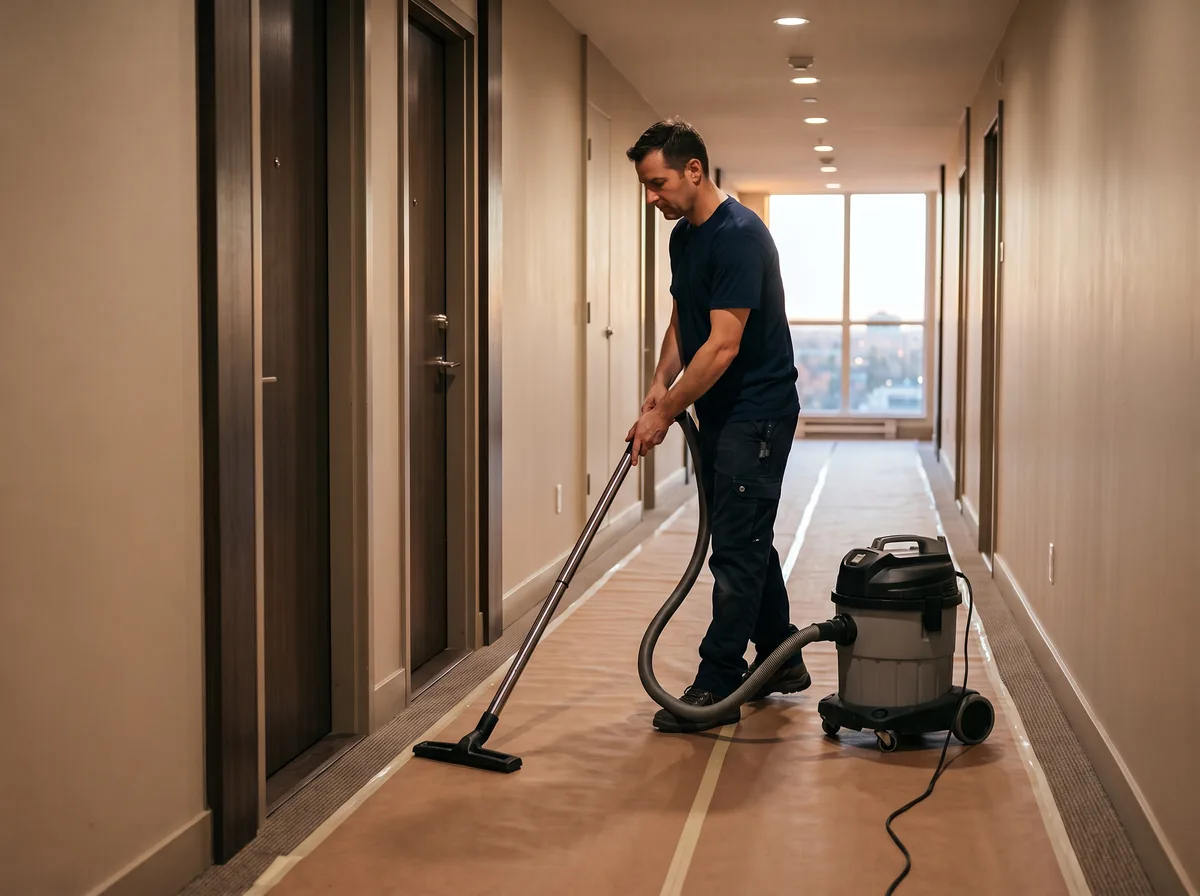
When the strip-out wraps, the protection comes off in reverse order with a final walkthrough against the day-one photos, and the deposit conversation becomes a simple formality. That is what proper condo common area protection during demolition buys: a building that barely noticed the work was happening.
Good to Know
This article is general information for condo owners and property managers, not engineering, safety, or legal advice. Building rules, deposit terms, elevator capacities, and hazardous-material requirements vary by corporation and project. Confirm the building’s specific requirements with the property manager and, where materials testing applies, with a qualified environmental consultant. Deomax Group is not responsible for decisions made solely on this article.
Download the Free Quick Guide
A one-page route-protection checklist to review with the contractor and property manager before demo day.
Frequently Asked Questions
Before a demolition starts, three things are critical:
- Walk the debris route with the contractor and photograph every surface on it.
- Get the building’s renovation rule sheet and service elevator schedule in writing.
- Agree on who supplies and maintains the protection, and put the daily reset in the contract, rather than relying on goodwill.
Deomax Group runs interior strip-outs and rebuilds inside occupied condo towers across Toronto, Etobicoke, and Mississauga. The protection plan is part of every quote, not an unexpected extra. Book a site visit to have the building’s route walked and assessed properly.
 Interior Renos